This page preserves a project article from the original KermitAirgunClub.com, a Kermit, Texas airgun club site active until it went offline. It's republished here for reference. If you're the original author and would like something removed or credited differently, contact info@airgunguide.com.
Getting Started

Here's what I started out with. Your typical B3-2 from a Cummings Tool Sale. Crappy orange color, lots of runs in the finish, and a rough piece of wood for a stock. The typical spring and firing mechanisms are usually not very smooth at all. So I will be putting in a brand new replacement spring, breach seal, piston seal, and smoothing out all the mechanisms including the trigger.
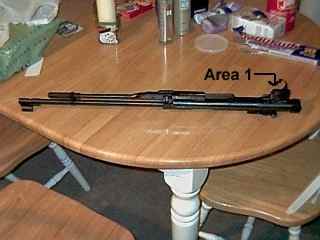
Here is the barrel assembly taken out. All you do is remove the 2 screws up front and 1 screw on the trigger guard and it pops right out. To keep pins from falling out, I wiped it down and placed scotch tape over the trigger area. I'll deal with this area later after the stock is refinished. Since I have never rebuilt an air rifle, I'll probably end up making a homemade spring compressor and do a lot of learning as I go. That's why I chose a $20 gun to work with my first time.

Getting it sanded down. I used a dremel tool on some of the rough inside areas in the front, and also inside the trigger area to get it smoothed out good.
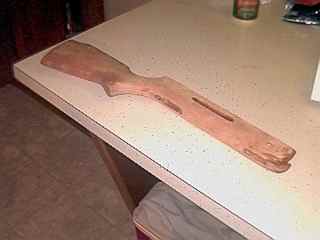
As you can see, it's getting down to the wood a bit now. And the wood doesn't look bad. I haven't found any filler yet. I might leave the stock natural with a few coats of varnish.

Here is the rebuild kit from South Summit. Kit QF-2 for Industry Brand B3 air rifles. If you're wondering why I'm not getting a spring from Mac1 or someone else, it's because I'm not looking to increase performance. I want to end up with a much nicer looking gun, and one that shoots, cocks, and fires much smoother.

You can see the contents here. New spring (better I'm told), 2 breach seals, 1 piston seal, 1 keeper, 1 sear spring, and a cleaning kit. I won't bother with the cheap oil, but plan on using moly paste where applicable and smoothing out the trigger assembly and the new "keeper" with my dremel.
Refinishing the Stock
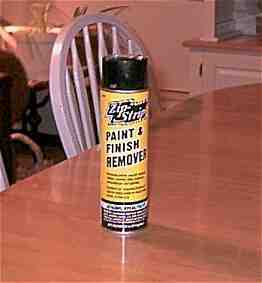
I decided after sanding that orange paint and varnish that sanding sucked. So I went to the local store and bought this stuff for $2.99. I hung the stock on wire, sprayed it down generously with the stripper and 20 minutes later I was able to take a putty knife and scrape the goo off. Worked like a charm.

Here is the left side finish sanded. No more orange. It actually looks much nicer than this picture, but all I have is a cheap digital camera. There was absolutely no filler on this side at all. I had to be very careful to sand with the grain even in all the tight spaces so that scratches would not show up.
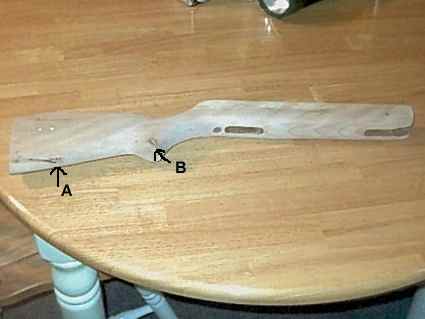
The right side had two fill spots on it where there was a knot in the wood. After sanding, the filler was only visible in one spot. I was going to leave the wood natural if it wasn't bad, but with the two spots in it, I'll have to stain it. Normally I'd call the dark spots "character," but it just doesn't have enough character to make it overall nice.

Here is the left side stained. Notice the swirl look to the grain. This is natural. It's more noticeable in the next picture with more light on it. I used a light brown Provincial stain for the finish. Why? It was the only stain I had in my shed, but it turned out perfect.

Here you can see the highlights in the grain better. It's kind of a zebra effect in the wood. I think it gives it a really cool effect. With a satin clear coat on it and some work, it will be awesome.
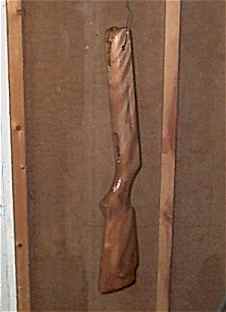
I decided to go all out and picked up some glossy polyurethane for the finish. Here it is getting the first coat.
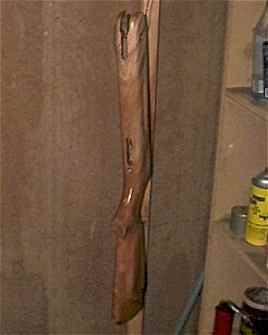
You can see that the glossy polyurethane brings out the beauty of the wood and the stain. This is working out better than I thought. After it dries for 4 hours, I will steel wool it and then apply another coat.
Update on the stock: The stock looked very good, but when I checked it in the morning, a bunch of dark black specks showed up through the grain all over the stock. I started re-sanding again all the way down to the wood, but I never could get the black sanded out. This must be some kind of problem with the wood used for these guns, as I have seen others have to repaint them. Since this is a learning experience, I decided I would have to go this route myself. I sanded it all back down and sprayed it with a flat black paint. After it dried I used a clear coat paint on it. It looks better this way than just painting with a glossy black. I think overall I'll still end up with a rifle that looks much better and performs much better.
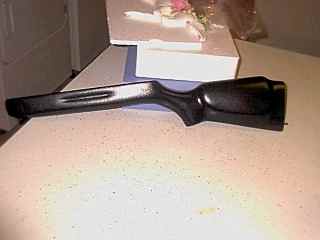
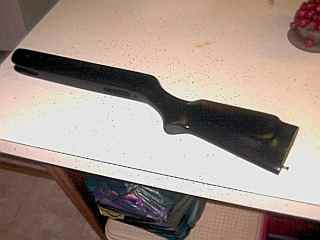
You can see that the clear coat on the flat black turned out real nice. I'm pretty happy with it even with the disappointment of not being able to stain it. The next B3-2 I get, I'm going to try the stain again and see what happens.
Rebuilding the Trigger Assembly and Spring
The following 11 pictures are from Ed Canoles as he took apart his B3-2. Thanks very much for the clear pictures, Ed!

Remove stock, which is easy since there are only 3 screws you need to remove.
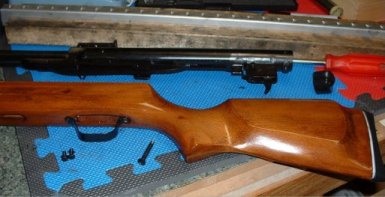
Stock removed.

Remove the "anti-beartrap" assembly.

Remove the cocking lever assembly after unscrewing the screw that holds a sling attachment loop.
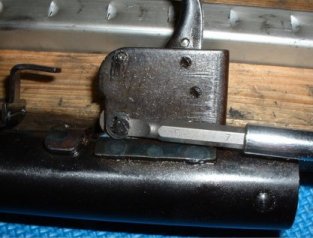
Push out the large trigger pin after removing the retaining clip.

Push out the trigger blade retaining pin and remove the trigger assembly.
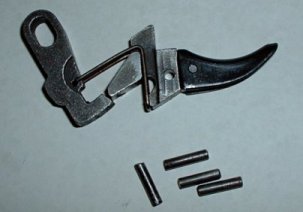
Trigger assembly and pins.
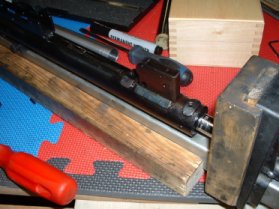
Put the B3 barrel and receiver in a spring compressor and tighten the compressor screw to remove pressure on the spring guide/breech plug retaining dowel.
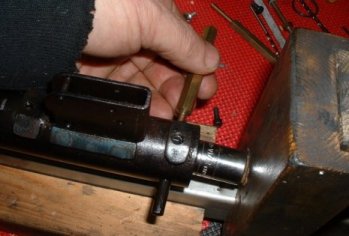
Push out the spring guide/breech plug retaining dowel and release the spring compression with the compressor screw. The B3 spring is preloaded some, so be prepared.
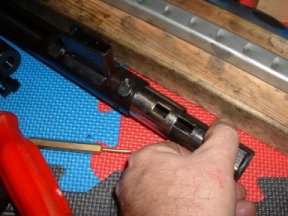
Pull out the piston assembly.

All apart, now you have to figure out how to put it back together.
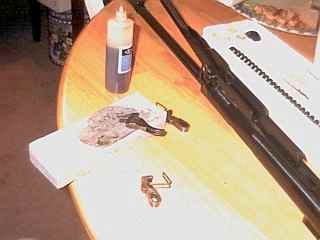
Here I have the replacement keeper and sear spring out. I decided not to use the dremel on them to smooth things out since I might take too much off. So I got a fine stone and used gun oil to smooth the parts out. Rubbing the keeper on the stone on both sides and on the contact area really put a nice smooth finish on it. I did this on the trigger also.
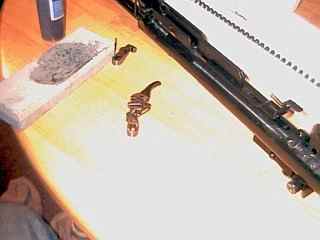
Here I have re-assembled the new keeper and sear spring. I put moly paste on everything, but just a very light coat.
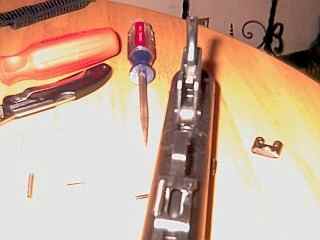
A picture of the view inside of the trigger assembly.
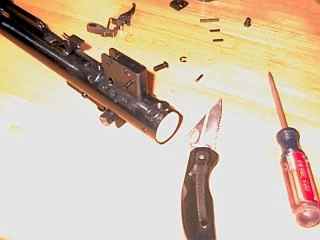
Rear pic of the trigger assembly. Note the white spring guide at the rear of the barrel. There is a pin holding the guide and spring in place.
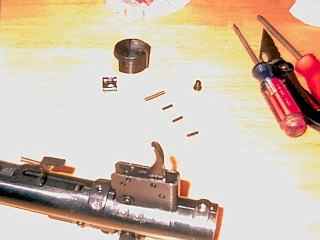
Here I have the new parts inserted. Now time to lube the pins and finish putting it together.
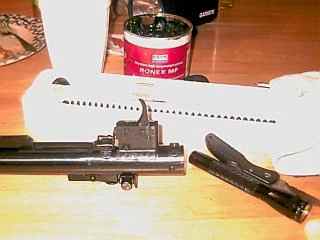
Trigger job is finished. New sear spring and keeper. Completely lubed and functioning smoothly. Next, it's time to change the spring and seals. For that I'll have to build a spring compressor.
Spring & Seals Rebuild

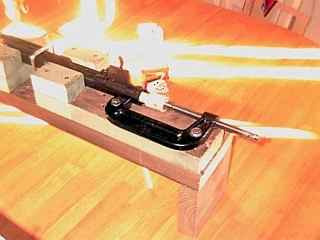
Here I have the barrel in the new spring compressor. I had to push the guide in a tad to get the retaining pin out.
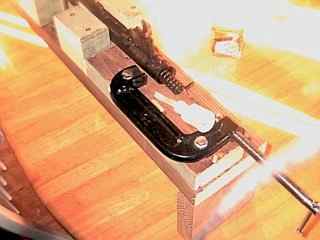
Backing it out slowly, the spring guide came out with no problems.
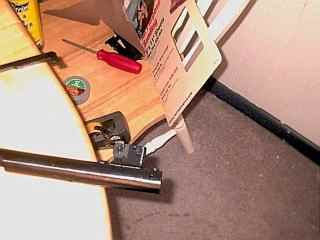
You can see the spring guide here. Can you say cheap?
After taking the spring out, I had to take the trigger assembly back off so the air chamber could come out.
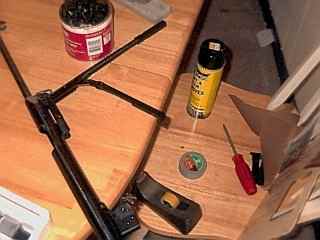
After taking the trigger assembly back out, the cocking arm had to come off of the air chamber. I did not have to take any rivets out to do this. I just bowed the cocking lever out instead of inward and it came right off.

Here is the air chamber with the old breach seal removed and the new seal sitting next to it. Taking the old seal out was a bear, but just keep working at it. The new one pushes right in.
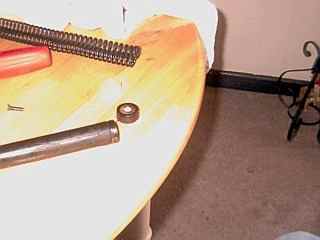
Notice that the piston seal on mine is leather. The kit came with synthetic seals. The synthetic seal did not fit. Since the leather seal was new anyway, it doesn't hurt to keep it.

Notice how much longer the new spring is than the old one. They are the same diameter, but the new spring seems stronger. This should actually give it better performance.
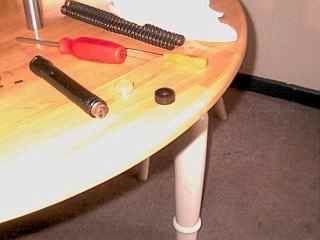
Here is the piston with the leather seal and synthetic seal sitting next to it. Even if I tried to modify the synthetic, it wouldn't work.

Here's the whole deal ready to be lubed and re-assembled.
Final Assembly

First thing I did was stone down the ends of the main spring so they would be a bit smoother. Then I cleaned it with WD-40.
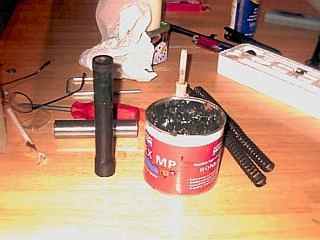
Then I moly pasted the piston just before the leather seal with just a light coat, and also moly pasted the spring lightly over each coil.
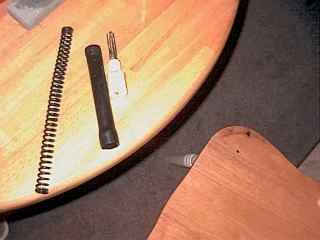
Spring, piston, and guide, lubed and ready to go.
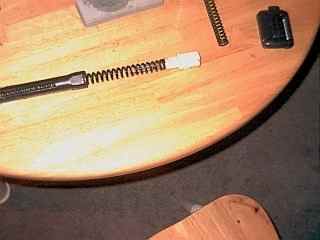
Nice and smooth with the paste.

Here is the chamber re-inserted and lined up with the breach and breach seal ready for the piston. Don't forget to place the cocking arm back in.
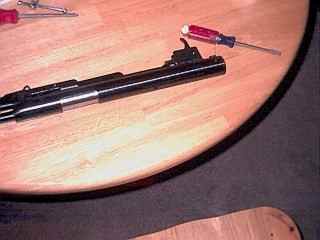
Use the spring compressor to push it all back in, insert the pin, and then re-assemble the trigger mechanism. It's pretty easy, it just falls into place.

Ready to re-assemble into the stock. I had already put the sling swivel, trigger guard, and butt plate back on the stock.

She's a beauty. This picture doesn't do it justice. If you're wondering whether it shoots better, well...
That new spring was about 1-1/2" longer than the stock one, but it went in great with the spring compressor. It takes a tad more effort to cock it. I took it outside right after assembly and it really shoots harder. It's a good thing it has the leather seal, it would probably toast a synthetic seal as cheap as the piston is made. I wish I had a chrony, but if I had to guess, I'd say it shoots about 150fps more than before. I bet the spring that came in the rebuild kit was really made for something else, because it shoots a lot harder than normal. The new breach seal held out good and seals real well. It's dieseling a bit right now because of the moly paste. Note: usually when they are stock, they are full of cheap oil. This rifle had no oil in it at all.
Before & After
Tags
B3-2 rebuild · Cummings Tool Sale · QF-2 kit · stock refinishing · trigger rebuild · breach seal · piston seal