This page preserves a project article from the original KermitAirgunClub.com, a Kermit, Texas airgun club site active until it went offline. It's republished here for reference. If you're the original author and would like something removed or credited differently, contact info@airgunguide.com.
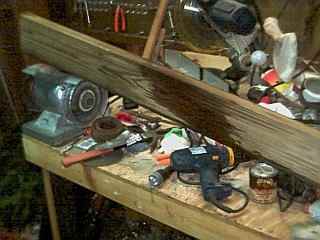
I had a good piece of 2x6 to start out with. I cut it and squared the ends and checked it for twist. Looks good.
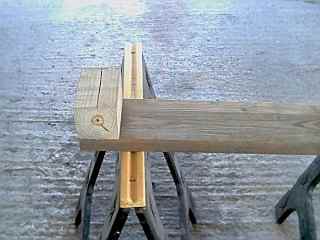
Put a 4x4 on the end for a barrel stop and screwed it on from the bottom with 3" decking screws.
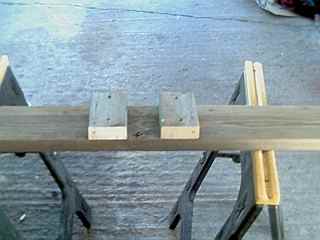
Two 2x4's placed for the barrel to lay on.
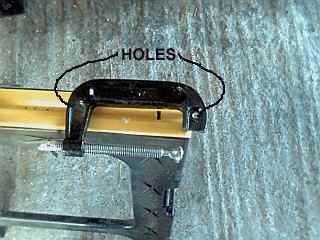
Taking advice from Eddie, I used a 4" C-clamp, cut down and drilled two holes in it to screw it in place with lag bolts.
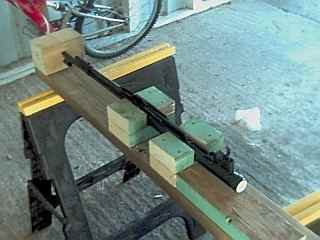
Here I put 4 blocks on both sides of the barrel and screwed it in place to give it some support. There is room for wedges to tighten it for different barrel widths.

Here is the U-bolt I'm using and the two 4" lag screws to screw the C-clamp down with.

Just screwed down the C-clamp with the lag bolts. If I have to move it, the 2x4 it's mounted to screws loose and can be moved easily.
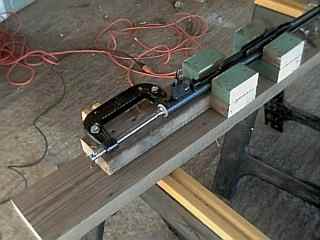
Another view of the C-clamp. I raised the C-clamp up by placing a small stack of washers under it to get the right height to center of the spring guide.
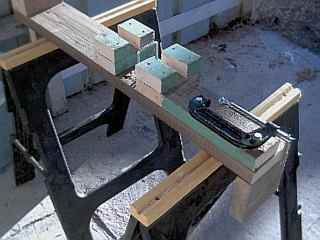
You can see the U-bolt mounted here.

I recessed the holes on the bottom for the U-bolt screws.
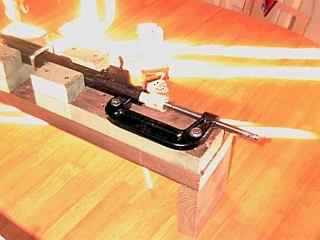
Spring compressor in action. I have the spring guide coming out. The 4" C-clamp was more than adequate. I still had about 1.75 inches of travel available.
If you want the updated blueprint with measurements, you can get it here: Compressor Blueprint.
I'd like to thank all those that posted pictures of their compressors on the forums and their websites so I could get an idea of what I was doing, a special thanks goes to Eddie for his input and help.
The spring compressor works great, and should be usable on other models as well. I hope you can use some of this info if you decide to build one for yourself.
Since I already had the wood and C-clamp, my total cost was $2.50 for the lag screws, washers, and U-bolt.
Tags
spring compressor · airgun tools · DIY airgun tuning · C-clamp compressor